
Since 1999
Since 1999
Many users of ThinManager take advantage of our free 30 day demo code to get started with a project or for testing purposes. The following steps will get you up and running quickly.
** Note ** During Installation, if you do not specifically provide a username and password, the ThinServer Service will use LOCAL SYSTEM as the default user for service connection.
** Note ** Will receive a warning of “no master license” each time you launch ThinManager while using ThinManager with a demo code.

Product Licenses are the permanent licenses that are purchased for running ThinManager. The Product License is added to a user created Master License that acts as a container for the Product Licenses. The Master License is then activated with the Installation ID, downloaded, and installed in ThinManager.
** Note ** At registration, use accurate information as your login credentials will be sent to your e-mail address.
** Note ** ThinManager may issue development licenses to System Integration Partners and ThinManager distributors as Product Licenses that will need to be added to Master Licenses.

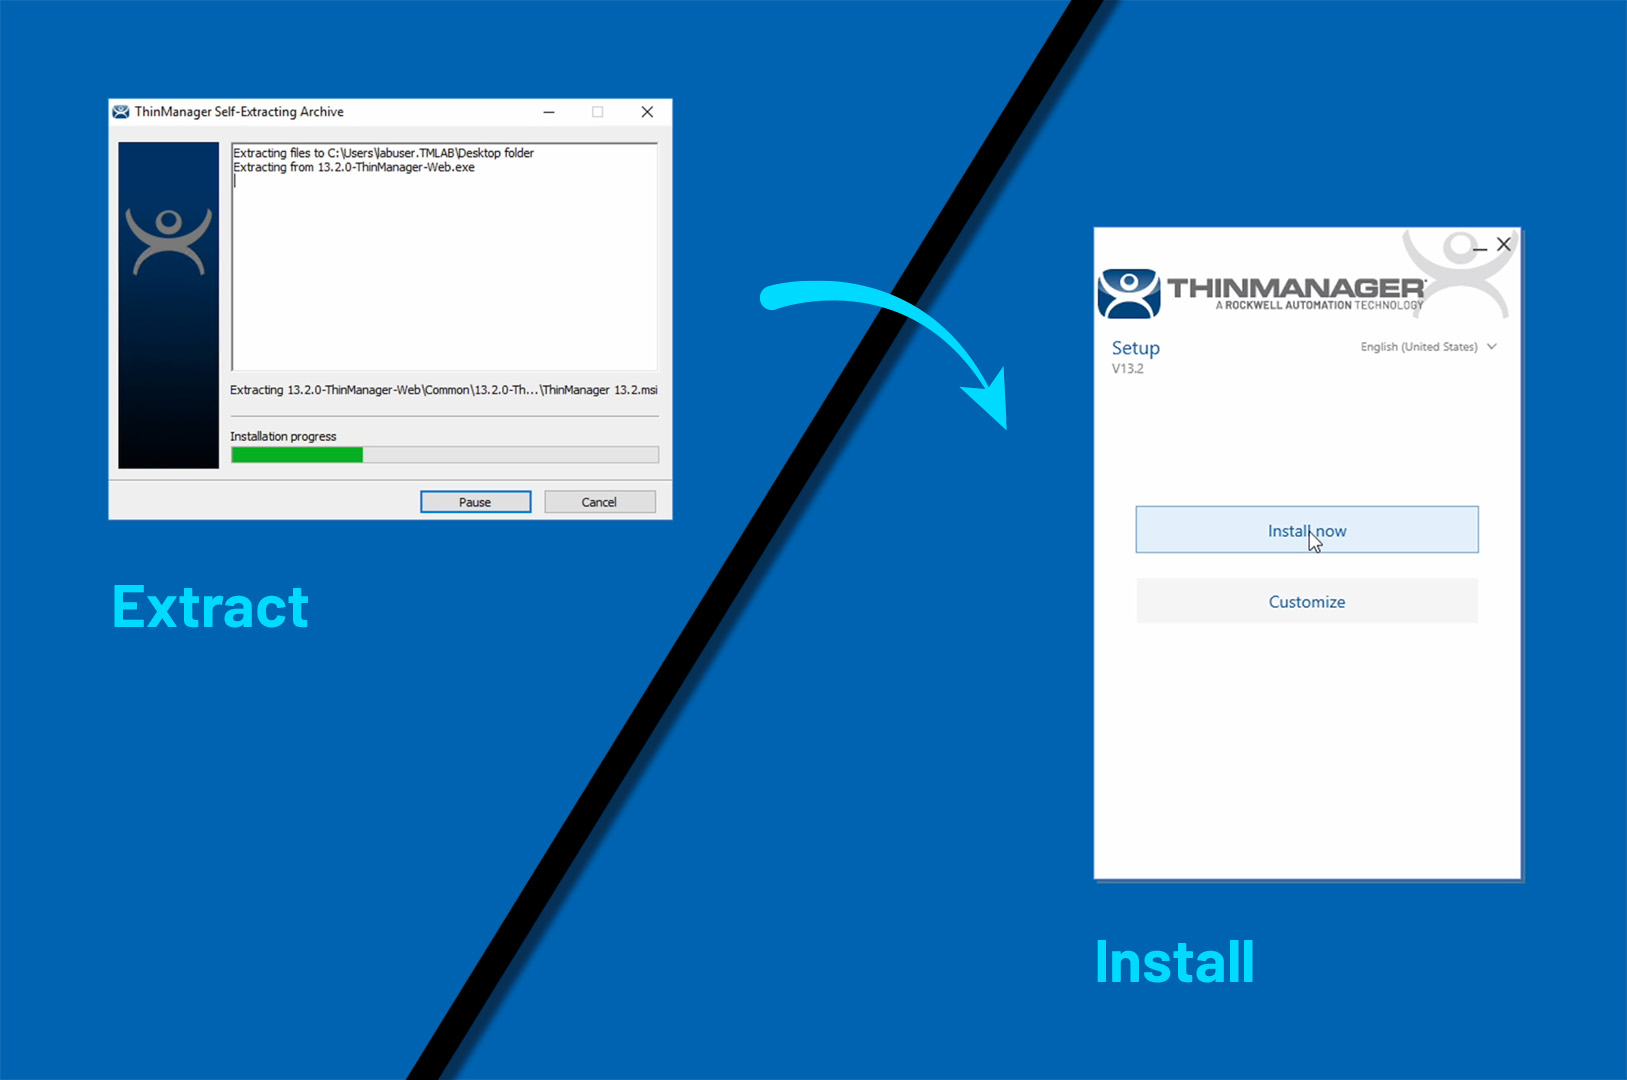
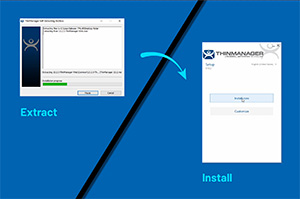
Extract the installer and files from download, place where desired (i.e. Desktop) and choose "Install now" to begin install.
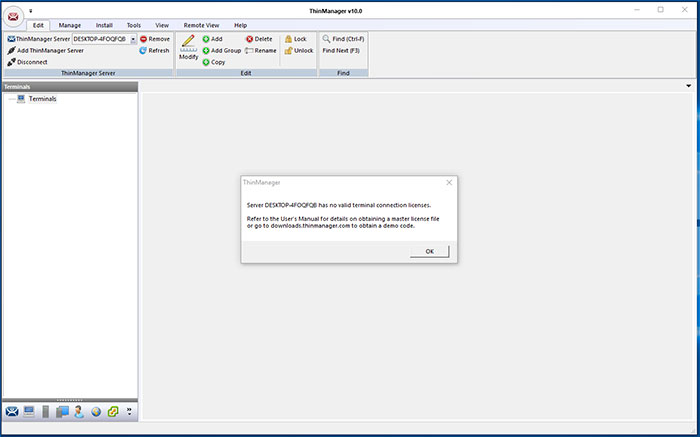
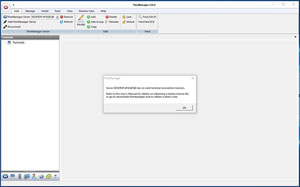
This initial launch screen warning tells you that you currently have no licenses installed. You need a demo license or master license.

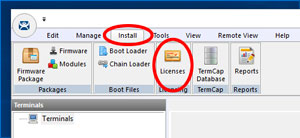
Navigate to the install menu and then to Licenses to install demo license or master license.
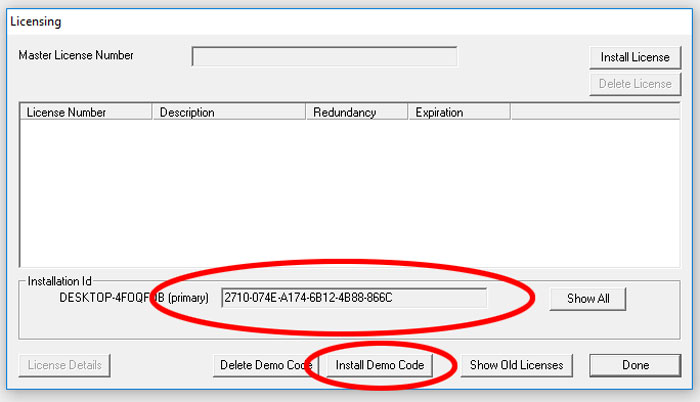
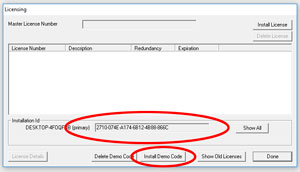
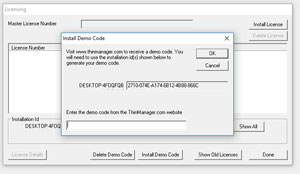
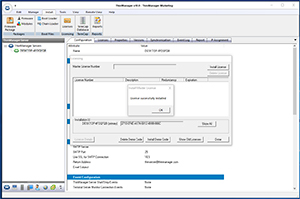
Navigate to [ install > Licenses ]. Window shows the installation/primary ID. It also has the option to install the demo code ID that you will receive by email once you complete the Demo Code form.

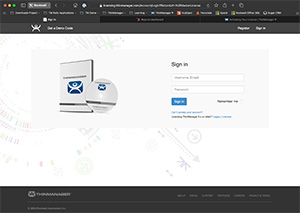
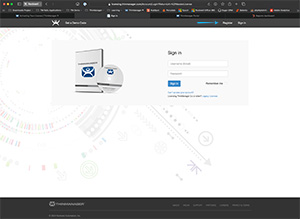
Navigate to https://licensing.thinmanager.com or click the user icon in the top right of the navigation on https://thinmanager.com.
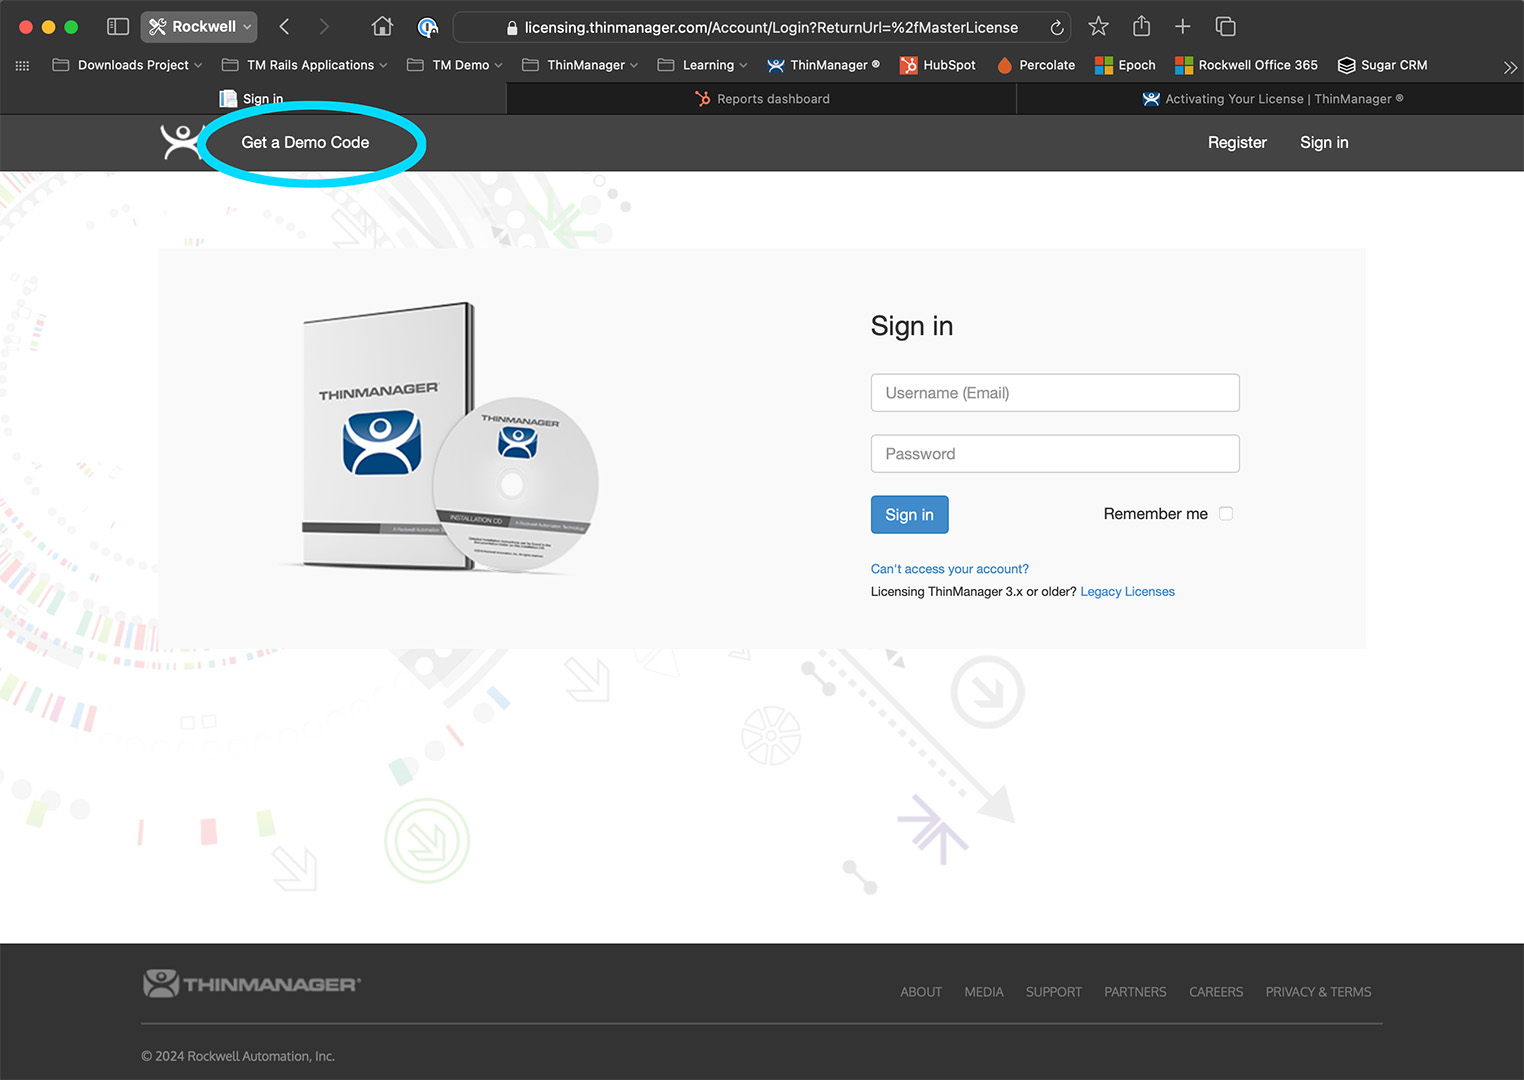
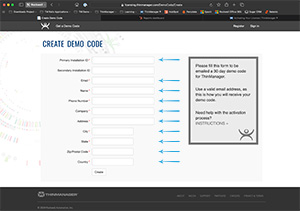
Select "Get a Demo Code" on the left top of the navigation bar.
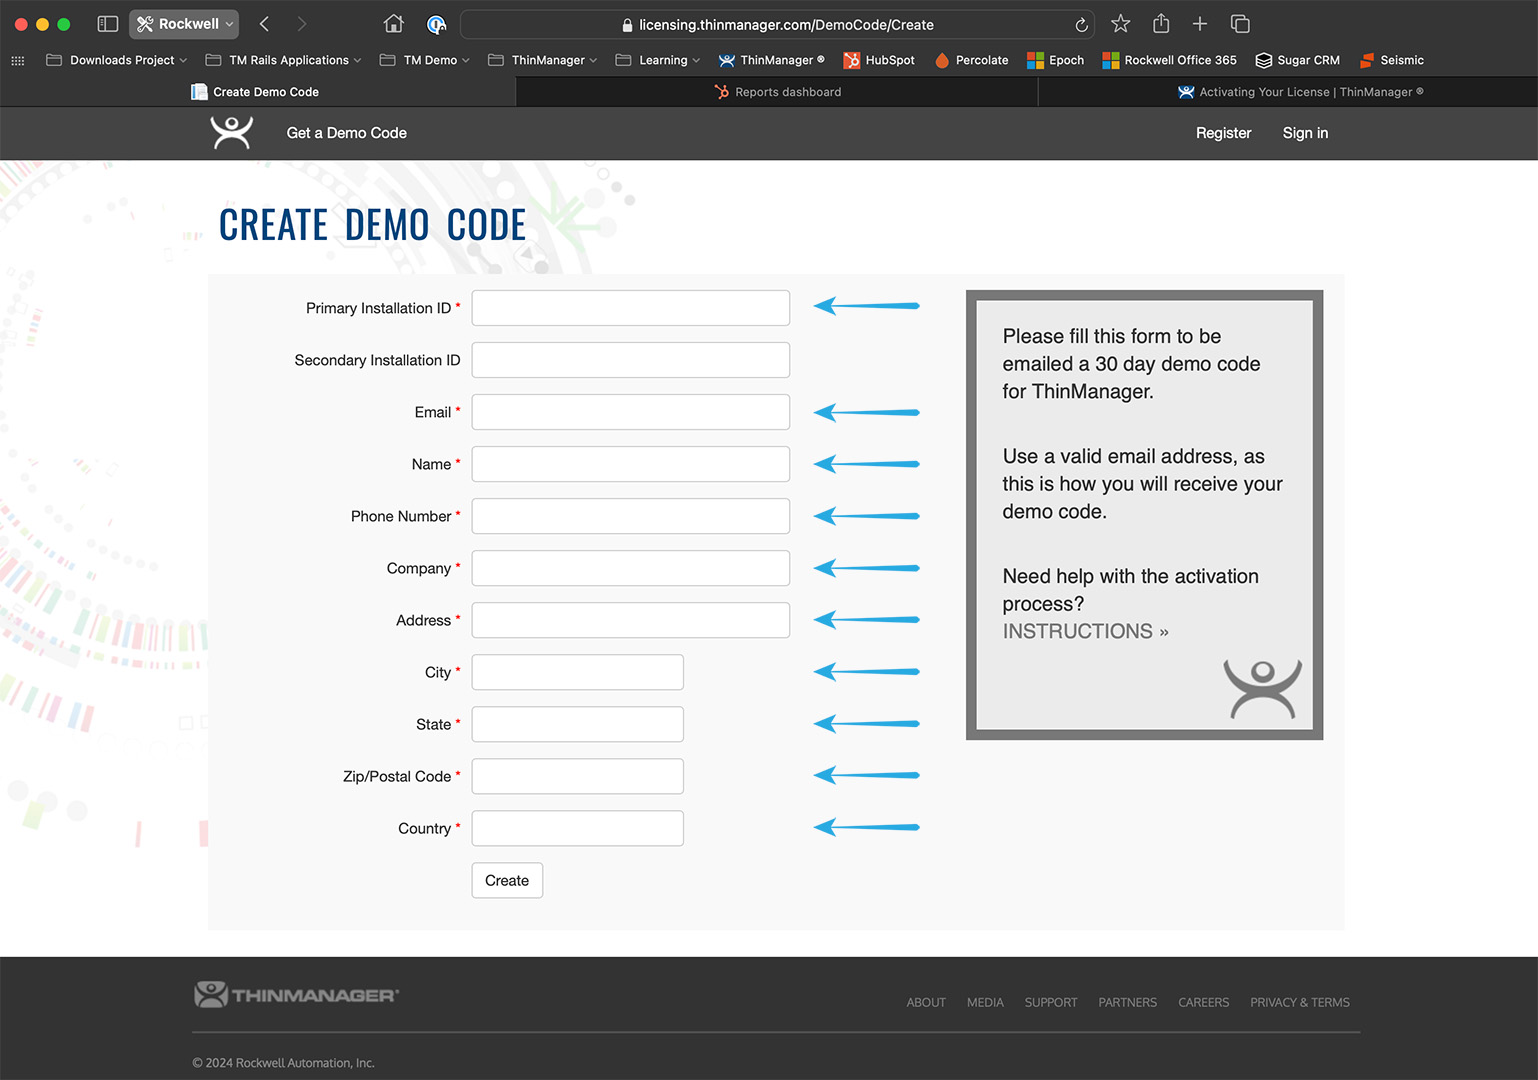
Fill in required form fields using the primary installation ID copied from your ThinManager install
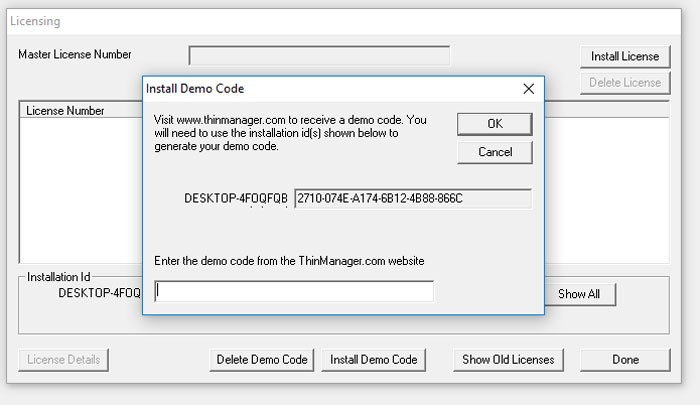
After selecting "install demo code" and paste your demo code that was emailed to you in this feild. Select "OK".
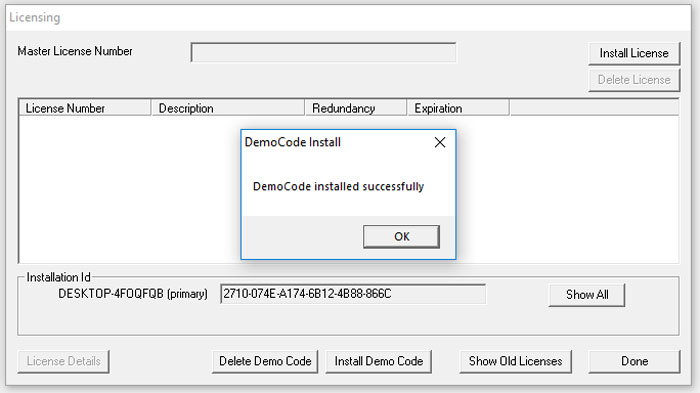
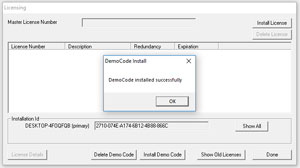
You will receive a warning that there is no master license, select "OK". You should then be presented this screen telling you that your DemoCode installed successfully.
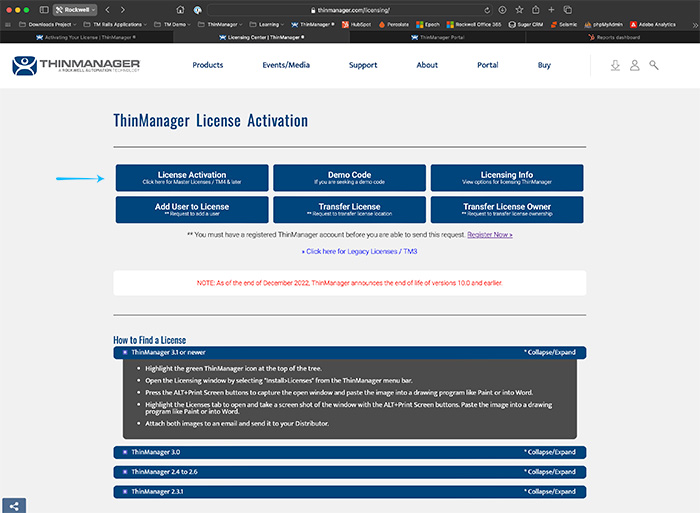
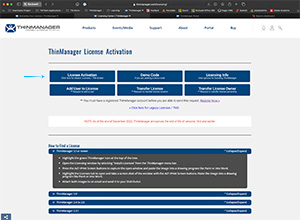
Navigate to "Support" and then to "License Activation" to see the license options based on your ThinManager version.
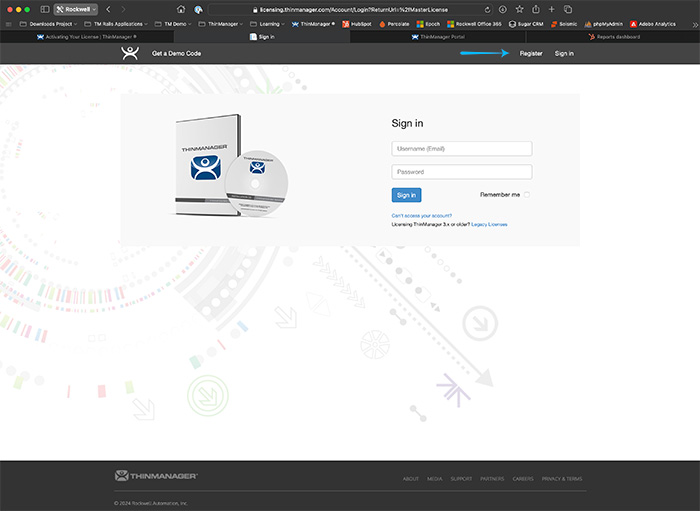
Choose either "Sign In" or create a new licensing account by selecting "Register".
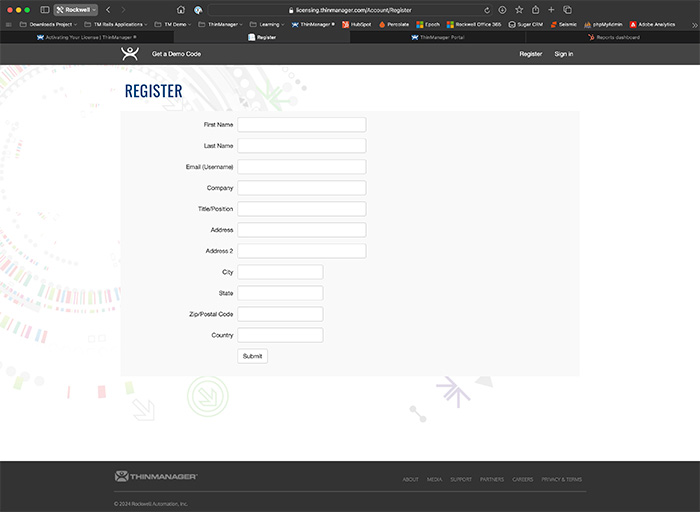
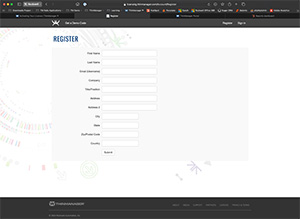
Complete form to register a new account for ThinManager master licenses, product additions and activation.

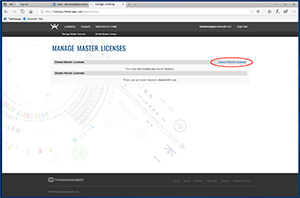
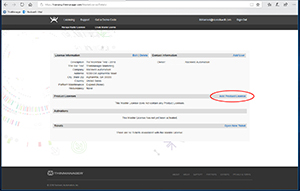
click "Create Master License" to create a master license to manage all your ThinManager product installs.
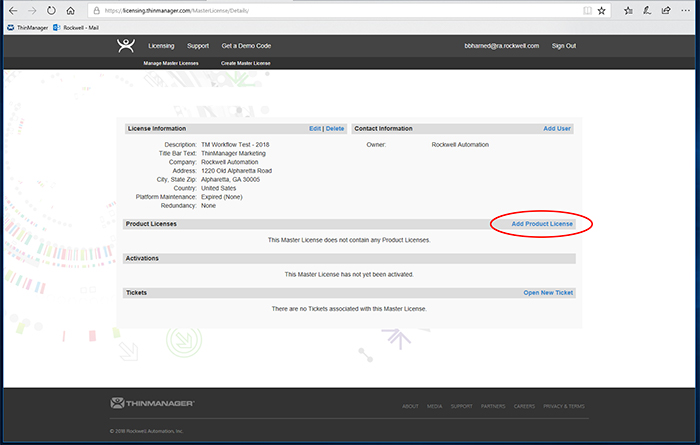
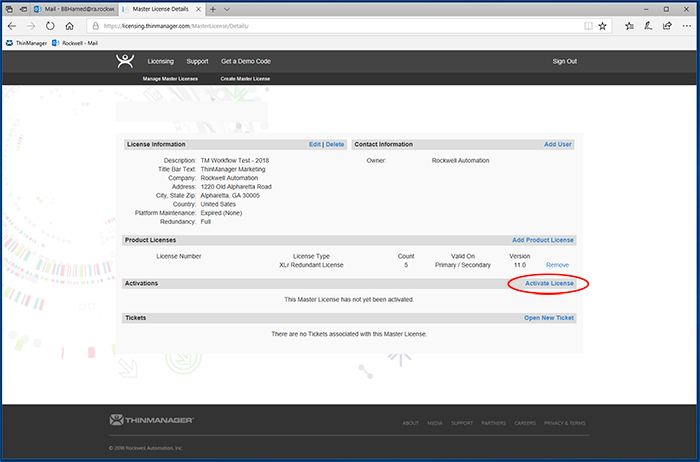
Once you have created the master license you can add product license to the master by selecting "Add Product License". You can add multiple product licenses to meet your facility needs as purchased.
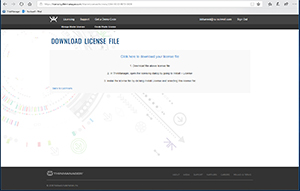
Once you have added your product licenses you need to activate your ThinManager by downloading the activation license file and installing it in to ThinManager.
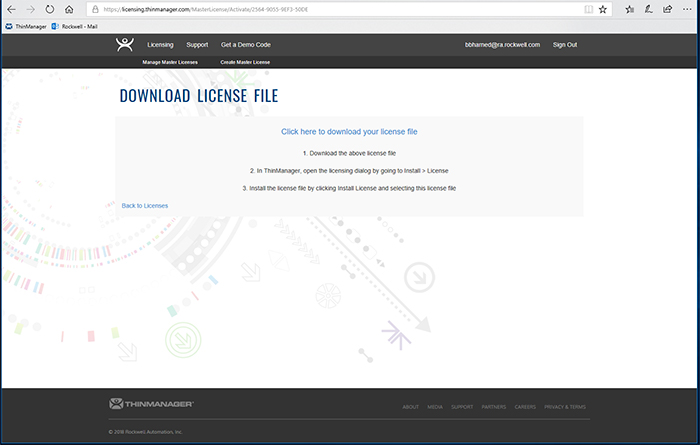
You should see this screen once you have clicked to downloaded the product activation file.

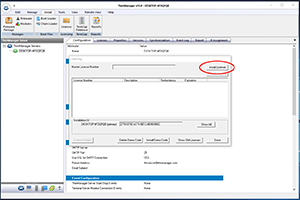
Within ThinManager, navigate to [ Install > Licenses ]. Select "Install License" and navigate to the downloaded activation file to complete your product activation.
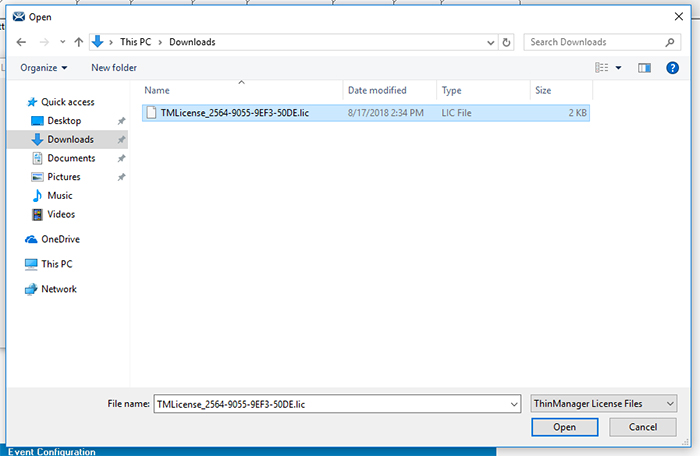
Navigate to where the activation file was downloaded and select it and click "Open" to install the license activation file.
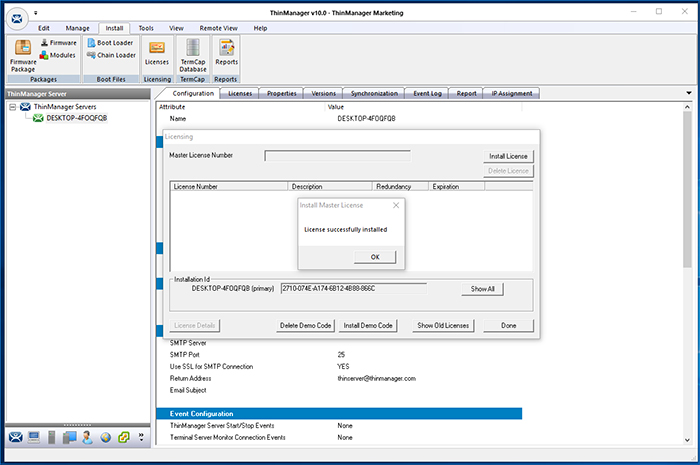
You should receive the "License Successfully Installed" message. Click "OK" then click "Done".
ThinManager can be activated using Rockwell Automation's FatoryTalk Activation Manager. Please follow the link below to read instructions on how to activate your copy of ThinManager through FactoryTalk Activation. The instructions cover the following topics and more.
ThinManager Knowledge Base:
License Activation with FactoryTalk Activation »

ThinManager® is the global leader in the automation industry, providing full-feature centralized thin client and remote desktop server management. Our unique software platform offers secure, centralized visualization and content delivery management solutions for modern industrial environments.
Immerse yourself in this overview of the ThinManager platform. Learn about the latest features as well as the staples that make ThinManager a trusted solution for modern industrial deployments. MORE »
The ThinManager Knowledge Base has answers to most of the questions that may arise while configuring ThinManager. Find solutions from previous versions up to the latest release. MORE »
Regardless of what you need to do with your ThinManager license, whether it’s activation, transferring licenses or updating information—this is the place to start. MORE »


